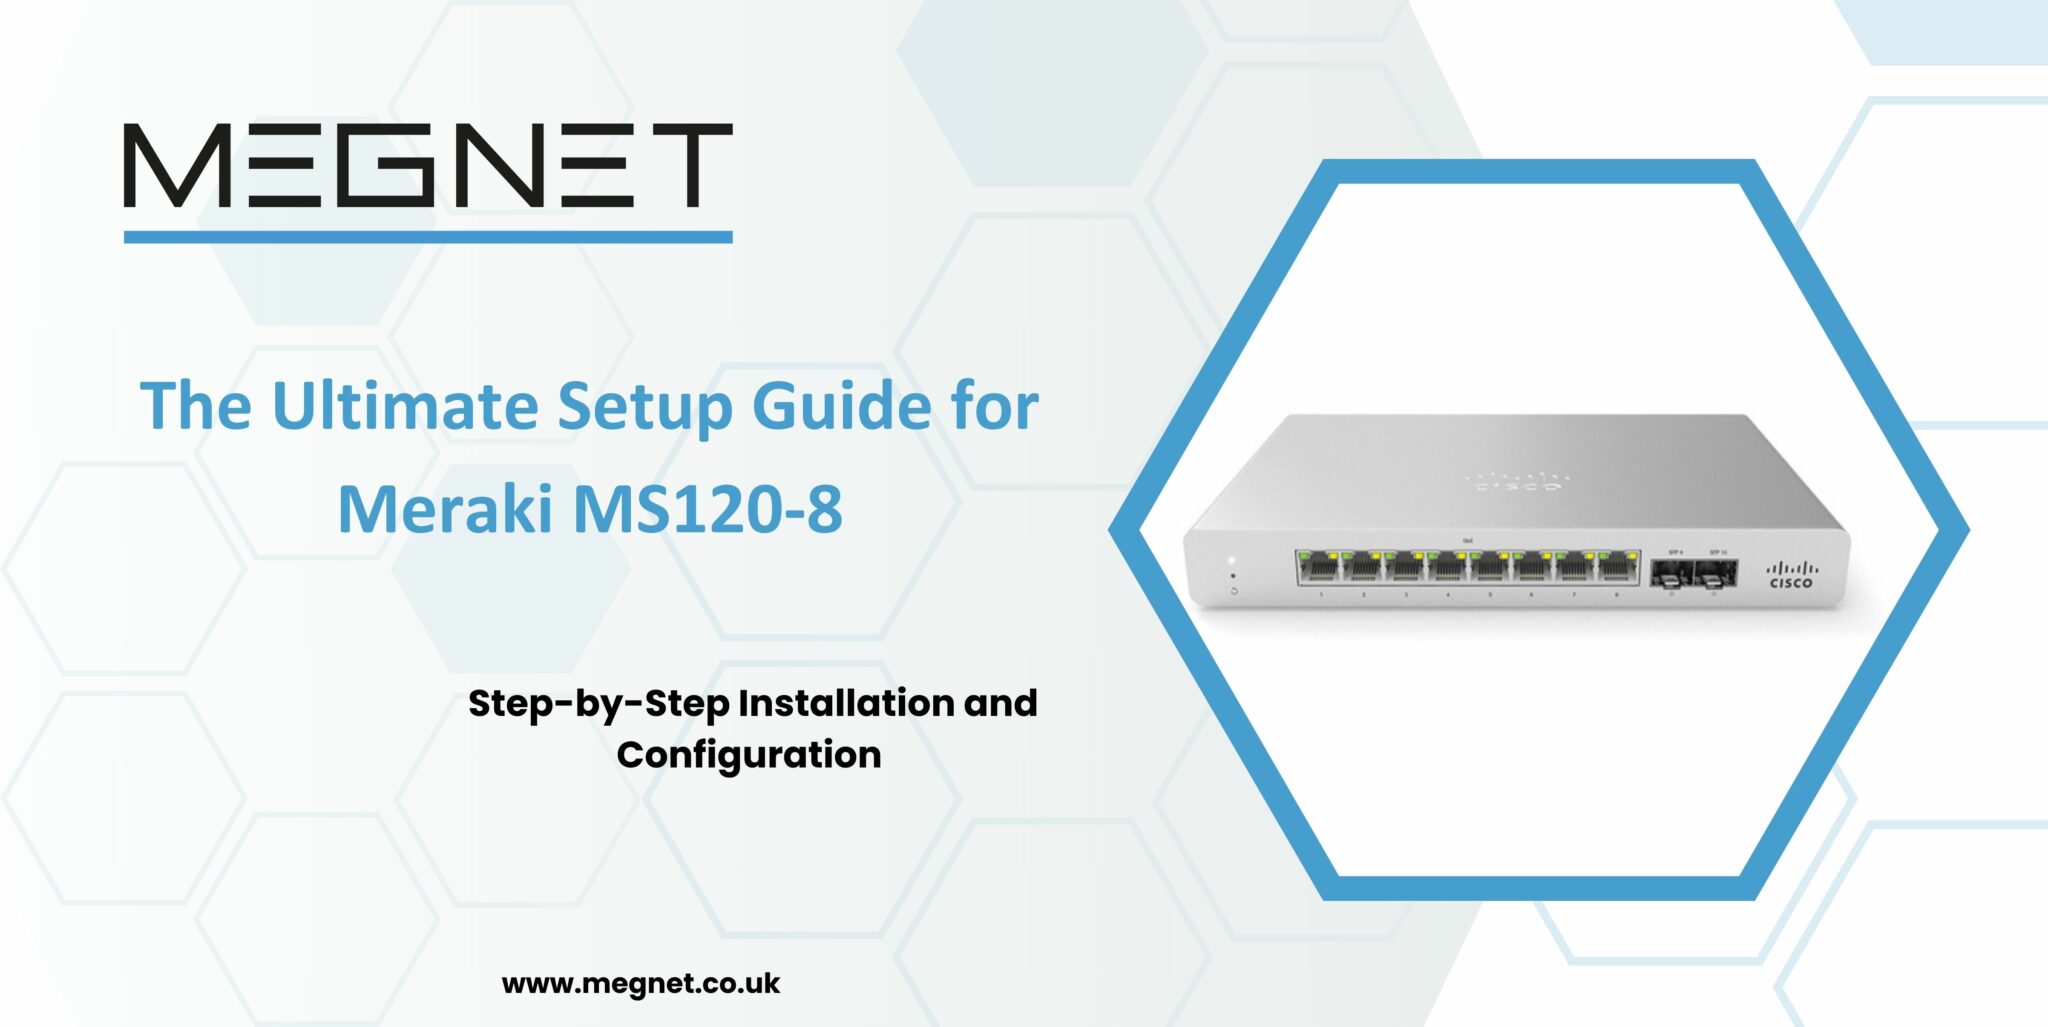

The Ultimate Setup Guide for Meraki MS120-8: Step-by-Step Installation and Configuration
The Meraki MS120-8 is a powerful and versatile 8-port Gigabit PoE switch that is ideal for small to medium-sized businesses. With its cloud-based management, easy setup, and advanced features, the MS120-8 is an excellent choice for businesses that need a reliable and scalable network.
In this comprehensive guide, we will walk you through the process of setting up and configuring your Meraki MS120-8 switch. We will also cover some of the advanced available features, so that you can get the most out of your investment.
Hardware Overview
The Meraki MS120-8 is a compact and lightweight switch that is designed for easy installation. It has eight Gigabit PoE ports, which means that it can power up to eight devices, such as VoIP phones, wireless access points, and security cameras. The switch also has two SFP (Small Form Factor Pluggable) + ports for uplink connectivity.
Software Overview
The Meraki MS120-8 is managed using the Meraki Dashboard, a cloud-based management platform that provides a simple and intuitive interface for managing all your Meraki devices. With the Meraki Dashboard, you can:
- Provision and configure your MS120-8 switch
- Monitor network health and performance
- Troubleshoot network issues
- Receive firmware updates
If you are looking for a compact, cloud-managed, and easy-to-deploy switch for your branch or small office network, you might want to consider the Meraki MS120-8. This switch offers 8 Gigabit Ethernet ports, 2 Gigabit SFP uplinks, optional PoE/PoE+ support, and a fan-lesss design that makes it ideal for quiet environments. In this blog, we will show you how to set up and configure the Meraki MS120-8 switch in a few simple steps.
Step 1: Unbox and Mount the Switch
The first step is to unbox the switch and check the contents of the package. You should find the following items:
- Meraki MS120-8 switch
- Power cord (or power adapter for non-PoE models)
- Mounting brackets and screws
- Quick start guide
To mount the switch, you can either use the integrated mounting brackets to attach it to a wall or a desk or use the optional rack mount kit to install it in a standard 19-inch rack. Make sure you leave enough space around the switch for ventilation and cable management.
Step 2: Connect the Switch to the Internet
The next step is to connect the switch to the internet using one of the SFP uplink ports. You can use either a fibre or a copper SFP module, depending on your network infrastructure. To insert the SFP module, align it with the slot and push it in until it clicks. To remove it, pull the latch and slide it out.
To connect the switch to the internet, you need to plug one end of an Ethernet cable into the SFP port and the other end into your router, modem, or another switch. You can use any of the two SFP ports, but we recommend using the one labelled “Internet” for simplicity.
Step 3: Power on the Switch and Register it to the Meraki Dashboard
The ultimate step is to power on the switch and register it to the Meraki Dashboard, the cloud-based management platform that allows you to configure, monitor, and troubleshoot your network from anywhere. To power on the switch, plug the power cord into the switch and a power outlet, or use the power adapter if you have a non-PoE model. The switch will automatically boot up and connect to the Meraki cloud.
To register the switch to the Meraki Dashboard, you need to log in to your Meraki account and add the switch to your network. If you do not have a Meraki account, you can create one for free and start a 14-day trial of the Meraki cloud service. To add the switch to your network, you need to enter the serial number or the order number of the switch, which you can find on the back of the switch or on the quick start guide. Once you add the switch, it will appear on the dashboard, and you can start configuring it.
Step 4: Configure the Switch
Now that you have registered the switch to the Meraki Dashboard, you can configure it according to your needs. You can access the switch settings by clicking on the switch name on the dashboard. Here are some of the basic settings you can configure:
- Switch name and location: You can change the name and the location of the switch to make it easier to identify and manage. You can also upload a floor plan or a map to show the physical location of the switch.
- Port settings: You can configure the settings of each port on the switch, such as the speed, duplex, VLAN (Virtual LANs (Local Area Network)), PoE, and access policies. You can also enable or disable ports or assign them to different switch profiles.
- Switch profiles: You can create switch profiles to apply common settings to multiple ports or switches. For example, you can create a switch profile for VoIP phones, cameras, or access points, and assign it to the ports that connect to those devices.
- Network policies: You can configure network policies to control the traffic flow and the security of your network. For example, you can create VLANs (Virtual LANs) to segment your network or use ACLs (Access Control Lists) to filter traffic based on IP (Intellectual Property) (Intellectual Property) or MAC addresses.
- Quality of service: You can configure quality of service (QoS) to prioritize mission-critical traffic such as voice and video. You can use the predefined QoS rules or create your own custom rules based on the traffic type, source, destination, or port.
- Monitoring and troubleshooting: You can monitor the performance and the status of your switch and your network using the dashboard. You can view the live traffic, the port utilization, the PoE consumption, the event logs, and the alerts. You can also use the remote diagnostic tools such as ping, traceroute, cable test, and packet capture to troubleshoot network issues.

Advanced Configuration
The Meraki MS120-8 has several advanced features that you can configure to optimize your network performance. Some of these features include:
- VLANs: VLANs allow you to divide your network into logical segments, which can improve security and performance.
- Link Aggregation: Link aggregation allows you to combine multiple ports together to create a single, higher-bandwidth connection.
- Quality of Service (QoS): QoS allows you to prioritize traffic based on its type, such as voice or data.
Troubleshooting
The Meraki Dashboard provides several tools for troubleshooting network issues. These tools include:
- Network Events: Network events provide a log of all the events that have occurred on your network.
- Network Health: Network health provides an overview of the health of your network.
- Support: The Meraki support team is available to help you troubleshoot any issues that you may encounter.
Conclusion
The Meraki MS120-8 switch is an excellent choice for branch or small office networks that need a compact, cloud-managed, and easy-to-deploy switch. With the Meraki Dashboard, you can configure, monitor, and troubleshoot your switch and your network from anywhere, without the need for CLI or complex software. In this blog, we showed you how to set up and configure the Meraki MS120-8 switch in a few simple steps. We hope you found this guide helpful and informative.

FAQ's
The Meraki MS120-8 is an 8-port Gigabit PoE switch that is ideal for small to medium-sized businesses. It is a powerful and versatile switch that can provide a reliable and scalable network.
1.Cloud-based management 2.Easy setup 3.Advanced features such as VLANs, Link Aggregation, and QoS 4.8 Gigabit PoE ports 5. 2 SFP+ ports for uplink connectivity
1.Improved network performance 2.Increased security 3.Reduced downtime 4.Easier management
The advanced features of the Meraki MS120-8 can be configured using the Meraki Dashboard. Refer to the Meraki MS120-8 Configuration Guide for more information.
The Meraki Dashboard provides a few tools for troubleshooting network issues. These tools include Network Events, Network Health, and Support.
The Meraki Dashboard is a cloud-based management platform that provides a simple and intuitive interface for managing all your Meraki devices.
1.Easy-to-use interface 2.Centralised management 3.Real-time insights 4.Proactive alerts
The Meraki MS120-8 warranty is decided by the company. Please contact the team for more details.
The Meraki MS120-8 supports several security features, such as VLANs, MAC address filtering, and Layer 3 security. Refer to the Meraki MS120-8 Security Guide for more information on how to secure your network.
The Meraki MS120-8 stands out from other similar switches due to its cloud-based management, which makes it easier to set up, configure, and manage. Additionally, the Meraki Dashboard provides several valuable features, such as real-time insights, proactive alerts, and centralized management.


Leave a comment
Your email address will not be published. Required fields are marked *